Clipper
What Clipper is and how to get the most out of it.
Product Version: 2.71 · Last Updated: 11th December 2025
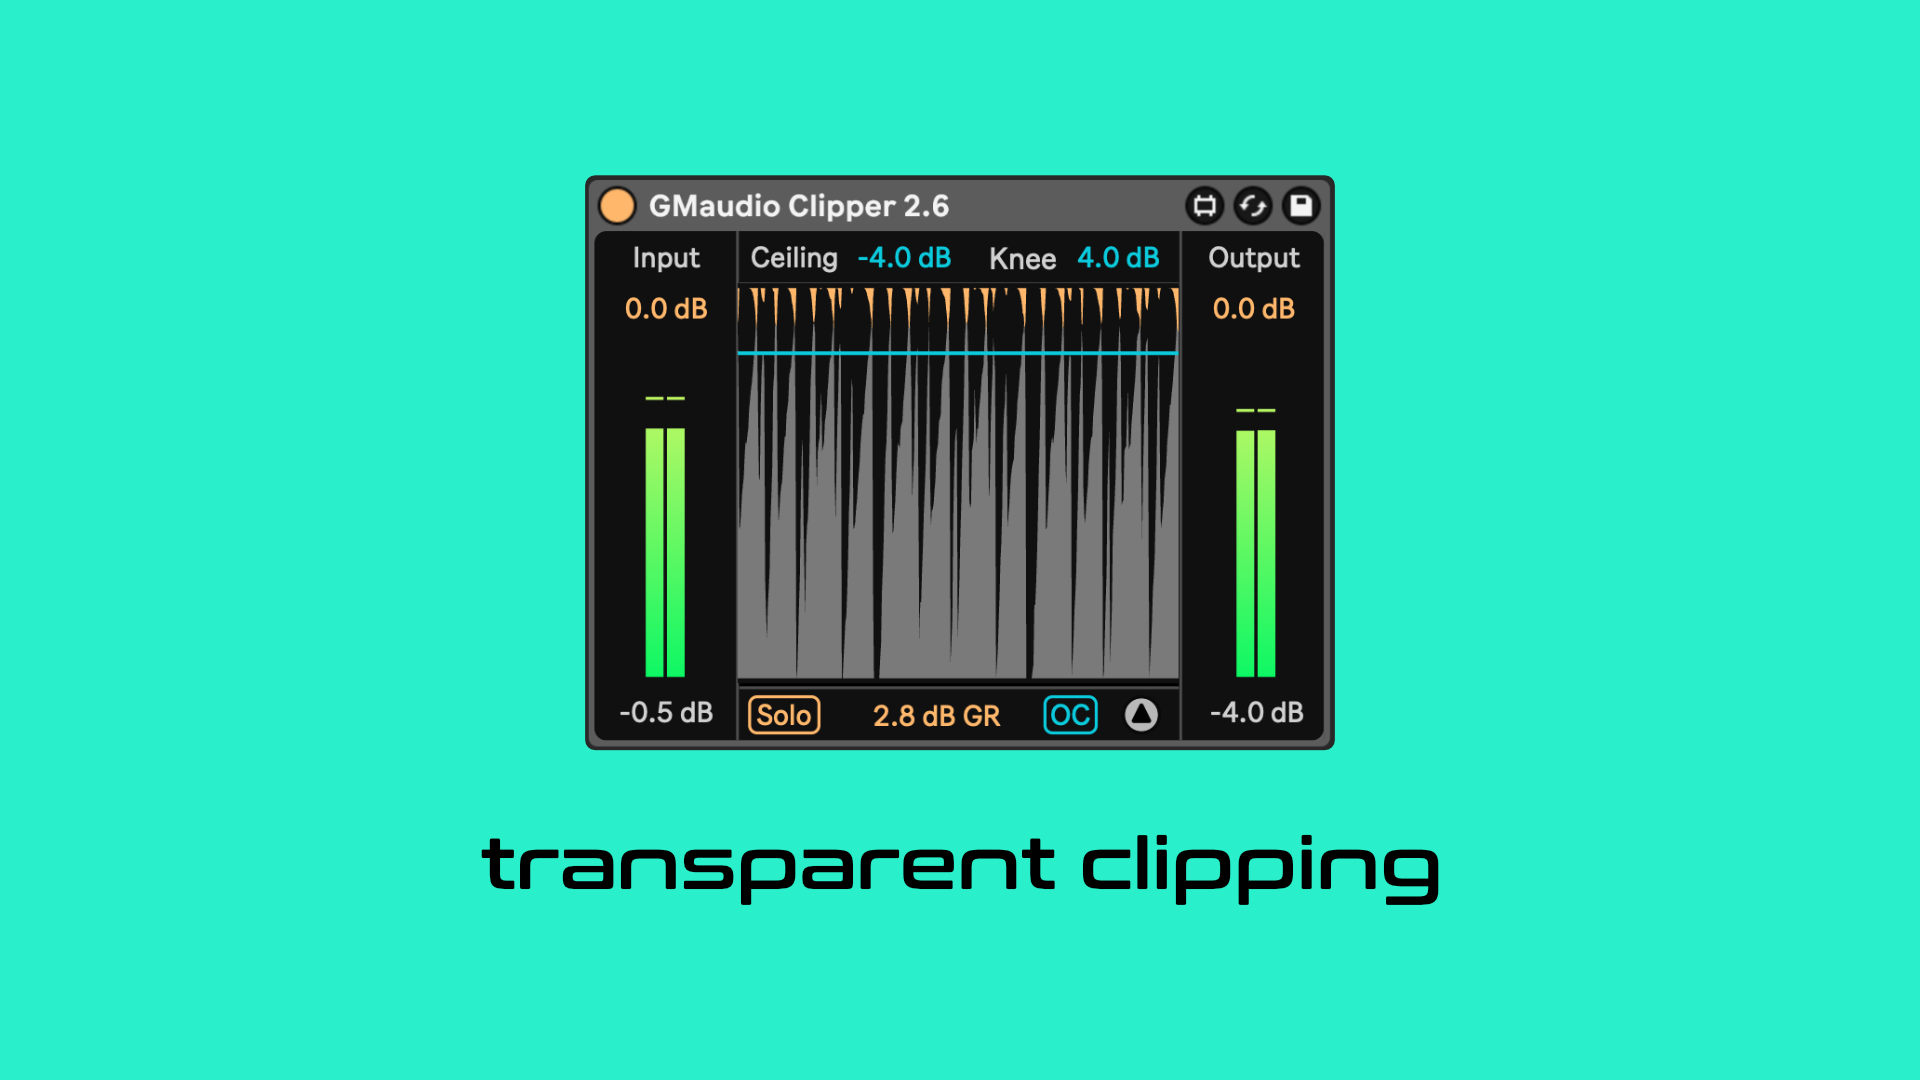
Concept
The use of hard clipping on an audio signal used to be somewhat of a secret mastering trick that engineers would use to gain an extra dB of headroom before limiting. It would normally be achieved by overloading expensive analog to digital converters (ADC) so that any aliasing would be filtered out in the conversion process and not stored in the digital file, but not all converters would sound good clipped, and the result would often be unpredictable.
Soft clipping is used more regularly and can be achieved by driving an amplifier heavily (such as the input on a mixing console) or via a dedicated circuit found in some mastering processors. Soft clipping is more predictable and results in fewer harmonics as well as Intermodulation-Distortion, although it’s still preferable to do it in the analog domain as any harmonics generated above Nyquist get filtered out by the ADC when storing it as a digital file.
Digital clipping usually refers to the hard clipping you get when a digital to analog converter (DAC) reaches its limit or when you try to store a signal louder than 0dB. It has always been seen as something to be avoided, as it generally sounds terrible and results in loads of aliasing. It’s one of the first things you learn not to do when studying as an audio engineer.
Digital soft clipping however, is a relatively new thing, often used in modern music production. Aliasing can still be a problem in this instance as digital audio is a discrete signal (sampled at points in time), opposed to analog audio which is a continuous signal. However, the predictability of digital has its advantages in this case as we can use these tools with much more precision.
Clipper Version 2 delivers the precision of digital soft clipping in an accessible format with the transparency of analog by utilizing Polyphase FIR Over-Sampling, and now Anti-derivative Anti-alising, both a world first for Max For Live. It is designed to make clipping more approachable and allows producers to use clipping to enhance their mixes by using it in place of limiters where transient details are important, while mitigating all the known pitfalls of using digital soft clippers.
You can learn more about how to use clippers and the oversampling technology via the articles on my website. Clippers Versus Limiters & The Best Clipper for Ableton Live
How to use it
Clipper yields the greatest effect on individual instruments with lots of Dynamic Range, such as kicks, snares, hats, claps, stabs and plucks. You can see whether a Track in Live has lots of Dynamic Range by looking at Live’s Track Meters. The bright green meter displays the RMS or average amplitude, while the dark green meter shows the Peak amplitude. The difference between the two, is known as Dynamic Range.
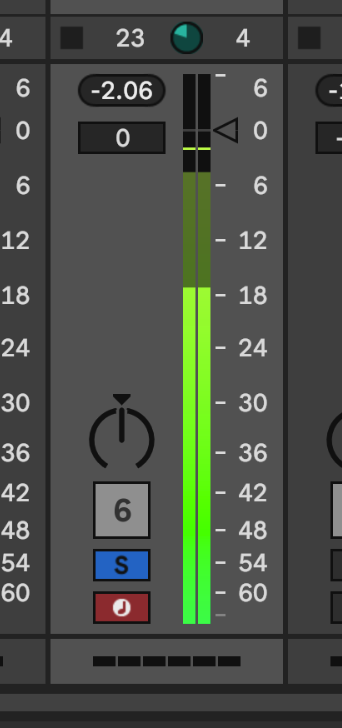
Live’s Track Meters - Snare with approximately 16dB of Dynamic Range
After identifying where Clipper might be useful, simply add Clipper to the Track and reduce the ‘Ceiling’ until it reaches the Peak Level of the input and Gain Reduction occurs.
To maximize the benefits of clipping, reduce the amplitude of only the loudest and shortest peaks. You can sometimes reduce the Dynamic Range by as much as half without much compromise, but excessive gain reduction will result in a weaker signal and ultimately, a less exciting mix. You can ‘Solo’ the Gain Reduction to hear what’s being removed by the clipper, ensuring that it’s only removing short peaks and not digging into the body of the sound.
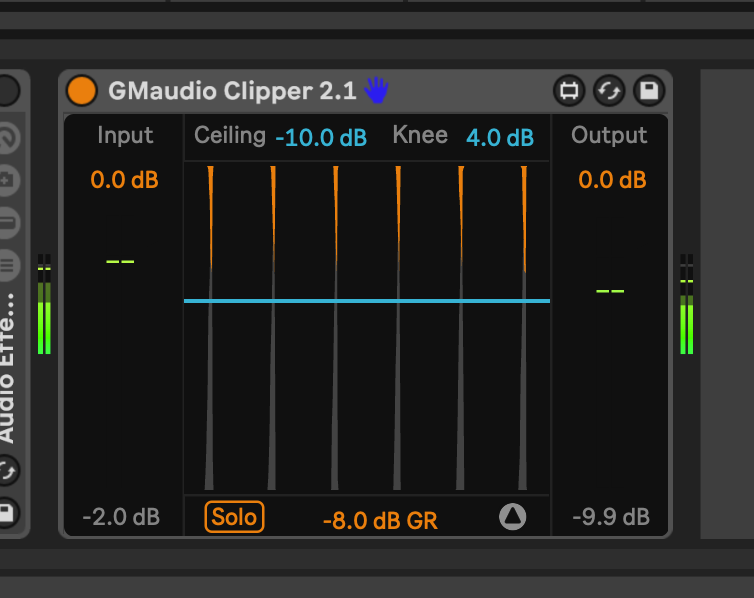
GMaudio Clipper - Reducing peak level of a snare by 8dB
It is much easier to make fine adjustments and judge the effects of clipping with a full mix. Adjusting the ‘Ceiling’ or ‘Knee’ of a Clipper on an instrument while everything is playing, allows you to find the point at which the instrument gains more perceived volume and energy, more easily. Once a signal has been clipped, it is then easier to find the ideal volume for that instrument, thanks to the extra headroom made available by Clipper.
If used correctly, the results will be a loud, punchy and exciting mix. For more information on using GMaudio Clipper, check out this article on my website; Clippers Versus Limiters
An example of using GMaudio Clipper throughout a mix, following the above, can be found here; When, where and how to use a Clipper (GMaudio Clipper 2.1 - Walkthrough & Examples)
Keep an eye on the Fixation Studios YouTube Channel for further examples and explanations.
Controls
Input Gain adjusts the amplitude going into the clipper.
Ceiling adjusts the point at which clipping occurs. The default ‘Knee’ is 4dB, therefore it will begin shaping the signal 4dB below the ‘Ceiling’. Hold Alt/Option (PC/Mac) while adjusting this parameter to apply the inverse to the ‘Output Gain’, making use of the additional headroom and operating like a “limiter/maximizer”.
Knee adjusts the softness of the clipping algorithm. Smaller values will distort less of the overall signal but produce more harmonics, while larger values will gradually distort more of the overall signal, but result in slightly less harmonics. 4dB is the default, but larger values can help mitigate overshoots beyond the ‘Ceiling’.
Solo will solo the clipped signal. Use this to hear what is being removed.
Overshoot Clipper hard clips any overshoots to maintain a perfect ceiling. This is often used as a safety mechanism to ensure hardware outputs are not clipped, or when a finite ceiling must be maintained at all costs. In many cases, it is not needed.
Output Gain adjusts the amplitude coming out of Clipper.
Options expands the Options menu, allowing access to further controls.
DC Filter enables a HPF filter at 5hz to remove DC offset. This can increase Peak Level and introduce minor overshoots.
FIR Remainder adds the unprocessed remainder of the Input after the final oversampling filter. At high values, the oversampling filter effectively disappears, providing a more natural sound. This can be useful for mastering or very light clipping but can introduce minor overshoots.
You can click the Peak level readouts below the Input & Output meters to find new maximum Peak values, however these now reset when changing any of the above parameters.
Clicking the GR readout will reset its calculation.
GMaudio Clipper is accessible via Push and 100% compatible with Push 3 Standalone.
Latency
GMaudio Clipper 2.7 adds 14 samples of latency. This is required for the anti-aliasing techniques.
Tips
As mentioned previously, fine adjustments are best made when listening to a full mix. Other places that Clipper may be useful is on groups or buses, to further truncate digital peaks that are largely inaudible, or to add extra bite. GMaudio Clipper is also ideal for mastering purposes and can be used to transparently achieve more loudness on complete tracks.
It can also be beneficial to use clipping before or after other dynamics processing such as compressors or limiters. Try it for yourself and listen to how it changes the operation of the accompanying compressor or limiter.
As of version 2.1 the ‘DC filter’ in the ‘Options’ menu is Off by default. Try enabling this for signals that are either noisy (such as analog or field recordings) or have lots of low frequency content and see if it changes the sound in a pleasing way. In many cases it won’t be needed.
Version 2.2 inverts the polarity of the ‘Solo’ signal. This allows for powerful, parallel, dynamic processing by applying filtering to the ‘Solo’ signal and mixing it with the dry signal, to add the desired frequency content that clipper would generally remove. Keep an eye on our YouTube Channel for more information.
Version 2.5 removed the BW Limiter (Introduced in Version 2.2) in favor of a non-oversampled hard clipper. It was found that in the majority of cases, this is a better option and makes way for a dedicated GMaudio mastering limiter in the future. If you are using the ‘FIR Remainder’ or like having a brickwall limiter after Clipper, then I suggest using Live 12.1’s updated limiter for the time being. A dedicated True-Peak Limiter will be implemented in future versions of Clipper.
Version 2.7 features a brand new anti-aliasing scheme with an optimized 4x linear-phase oversampling method as well as Anti-derivative Anti-Aliasing. One by-product of this is slightly less overshoots under all conditions, but should also provide lower CPU usage and much less aliasing.
I’ve heard some concern with overshoots. If Clipper is used as suggested, to clip no more than half of a signal’s dynamic range, then overshoots should not be a problem at all. If at that point you want to perfectly maintain the ‘Ceiling’, then the Overshoot Clipper can be enabled to clip any overshoots which will then be extremely quiet, rare and short. The harder the Knee and the more consistent the clipping (getting closer to the RMS of the signal), the more opportunity for overshoots. If you want to learn more about why overshoots occur, look up the Gibbs Phenomenon.
There are many other ways that you can use Clipper and many of these features were added due to customer requests. If you find an interesting way to use GMaudio Clipper, let me know or make a video for social media with the tags #fixationstudios #gmaclip2 and I’ll find you and give you some freebies if I like the content :D